
A nursery works best when its essentials make everyday care calmer, not more complicated. If you are choosing a monitor, planning sleep routines or preparing for travel, this guide gives you a clear order to follow. Nanit is a natural place to start because its system combines clear video, real-time notifications, sleep insights and breathing motion monitoring in one connected range.
Before browsing, write down what you actually need to see, hear and carry. Then explore the Nanit smart monitoring range with those priorities in mind. Its options cover a permanent nursery setup, flexible viewing around the home and a portable kit for weekends away.
When you shop through the links in this article, the retailer may pay us a commission. Your price stays the same.
Start with the monitoring job
Start with the job your monitor must do. A camera mounted above the crib suits a dedicated sleep space, while a portable stand is more useful if your baby naps in different rooms. A second screen can help when you want quick access without reaching for your phone. Keep the decision practical and you will avoid paying for features that never become part of your routine.
- For a main nursery: choose a stable overhead view with the widest useful angle.
- For shared spaces: prioritize a setup that can move between play and sleep areas.
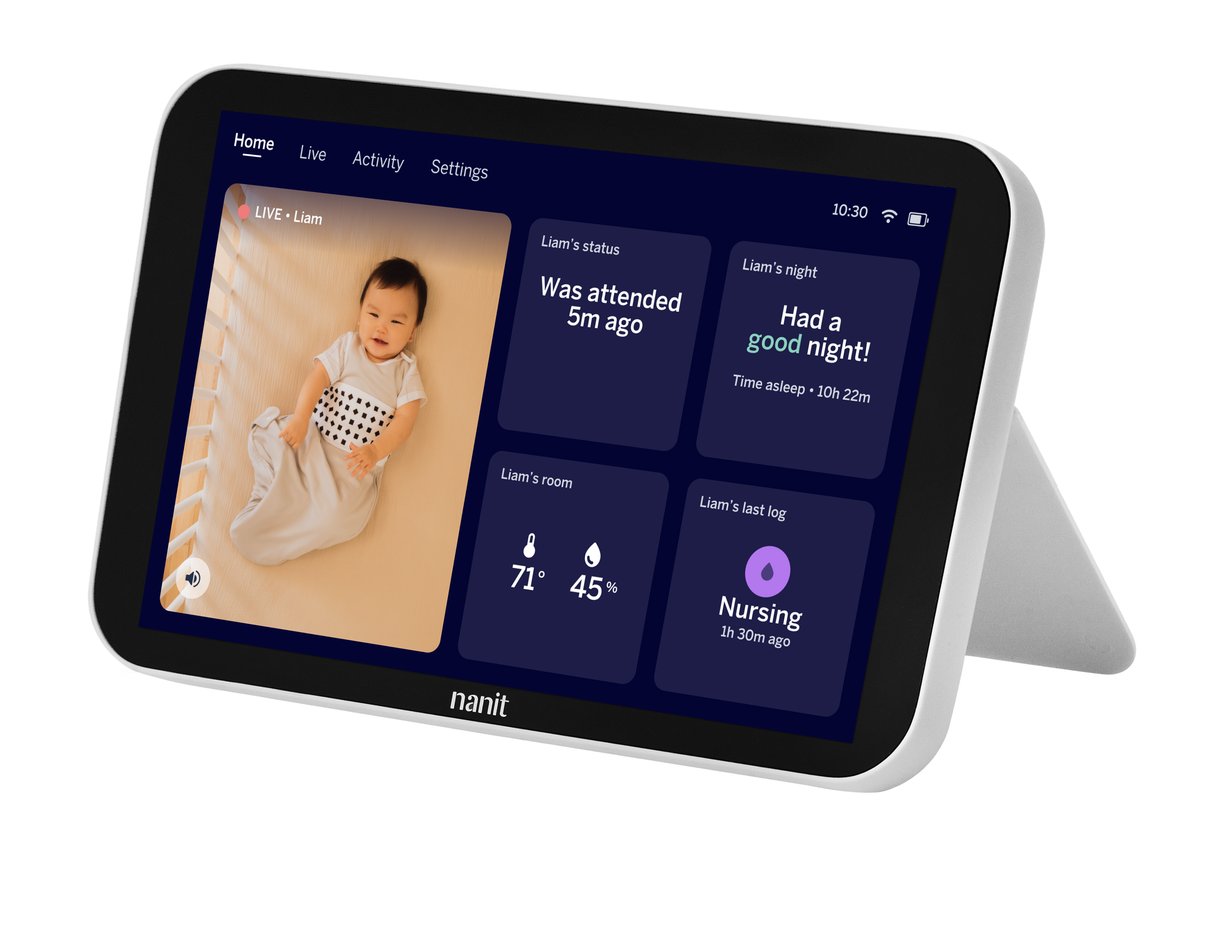
- For quick check-ins: consider a dedicated display as well as app access.
- For longer-term use: look for sleep tracking and notification tools.
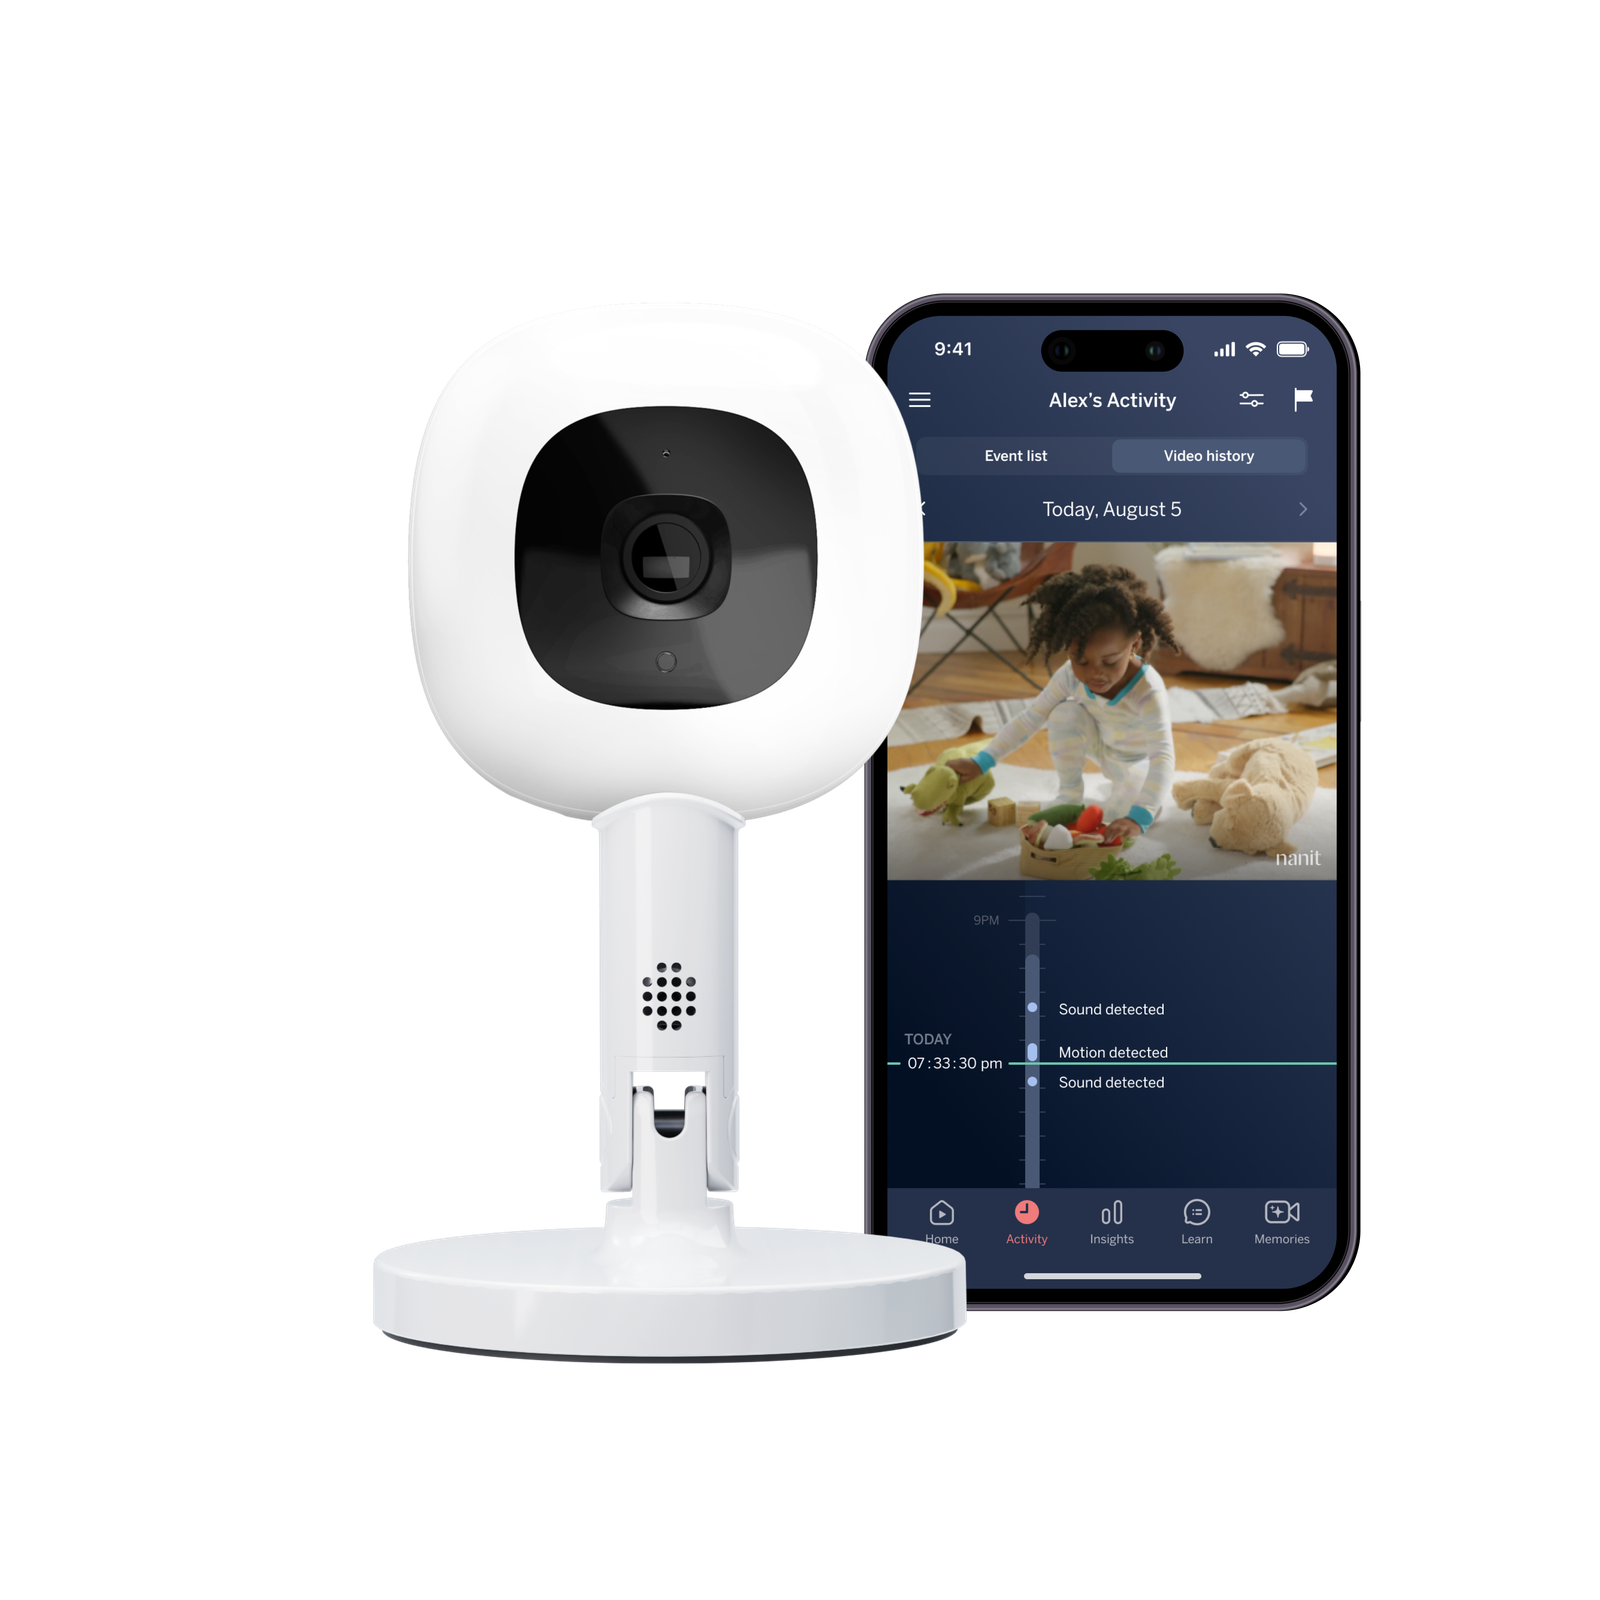
The Nanit Smart Baby Monitor System is designed around crystal-clear video, real-time notifications and personalized sleep insights. It is the sensible foundation if you want one connected system to grow with your nursery. For a travel-first setup, the Nanit Smart Baby Monitor + Flex Stand is made for home or on-the-go viewing.
Find the right position
Measure the crib and the surrounding furniture before you choose a mount. The goal is a stable view of the sleep space without loose cables, glare or an awkward reach. Place the camera so the mattress sits comfortably inside the frame, then test the image at night and in daylight. A wall or floor setup may be cleaner than balancing equipment on a nearby shelf.
- Mark the proposed camera position and check the full mattress is visible.
- Route the cable away from the crib and secure it according to the installation instructions.
- Check for reflections from windows, lamps and glossy furniture.
- Open the app from your usual chair to confirm the view is easy to check.
For a dedicated room, compare the Nanit Floor Stand with the Nanit Wall Mount. The Floor Stand slides under a crib for flexible, space-saving placement, while the Wall Mount fastens above the crib for a wide-angle view. The right choice is the one that leaves your walking path and nursery storage undisturbed.
Choose your everyday view
A phone app is convenient, but a dedicated screen can make quick checks feel more immediate. The Nanit Home 8" Display pairs with the Smart Video Baby Monitor and app. Choose it if you want a visible, at-home check-in point for a partner, caregiver or late-night feeding routine.
- Phone-first homes: keep the app as your flexible everyday view.
- Shared caregiving: add a screen where more than one adult can check in.
- Night routines: place the display where it is easy to glance at, not where it becomes clutter.
Keep notifications useful by choosing the alerts you genuinely want to act on. More alerts are not always better. Review them after the first week, and adjust as your baby’s sleep pattern changes. Nanit also offers Insights Plans with sleep tracking, milestone updates and smart notifications, so compare the current plan details before adding a subscription.
Build the bedtime setup
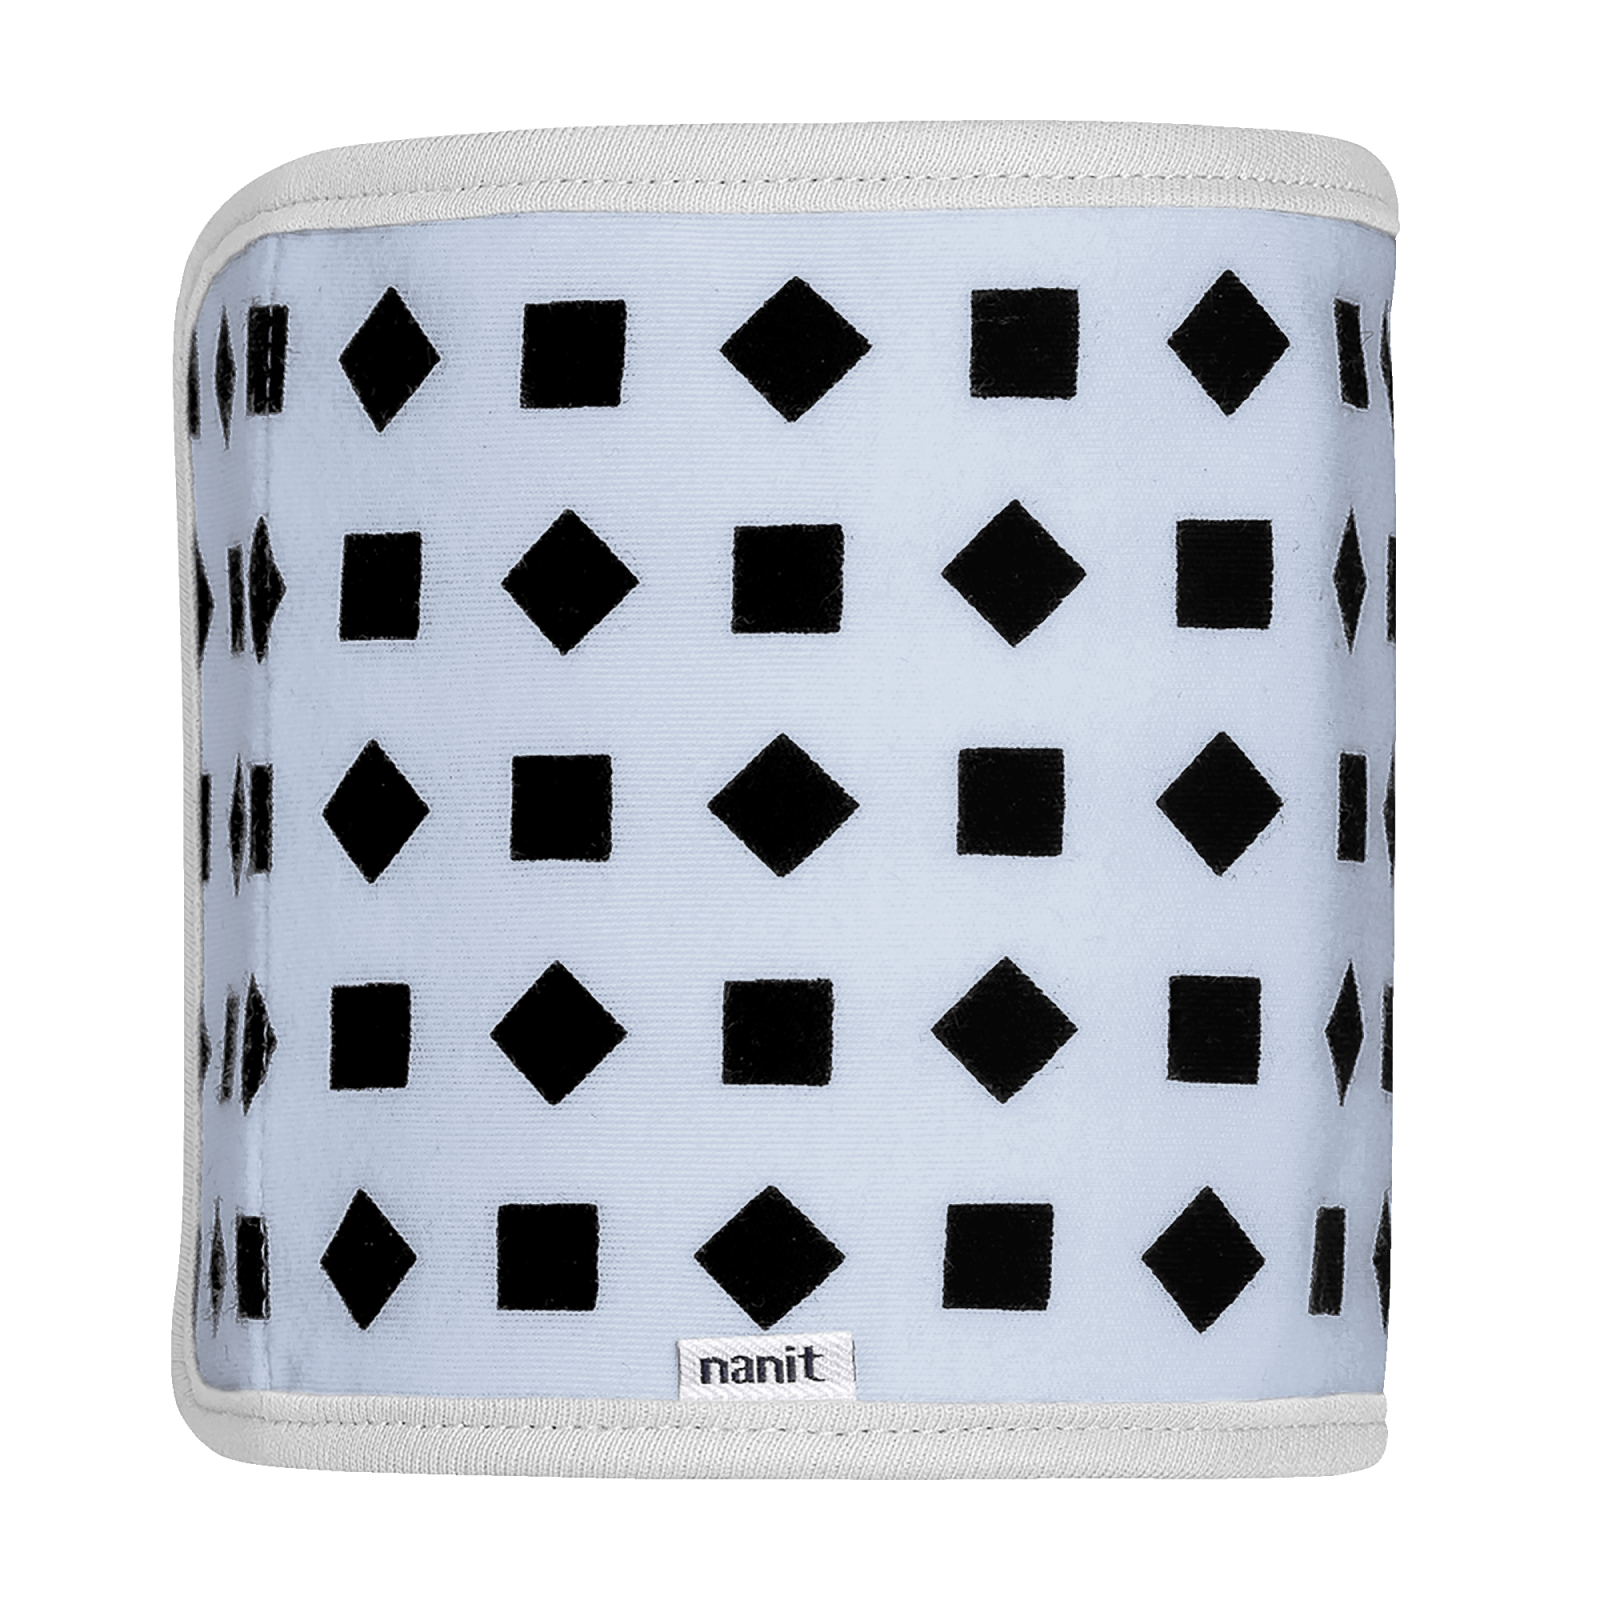
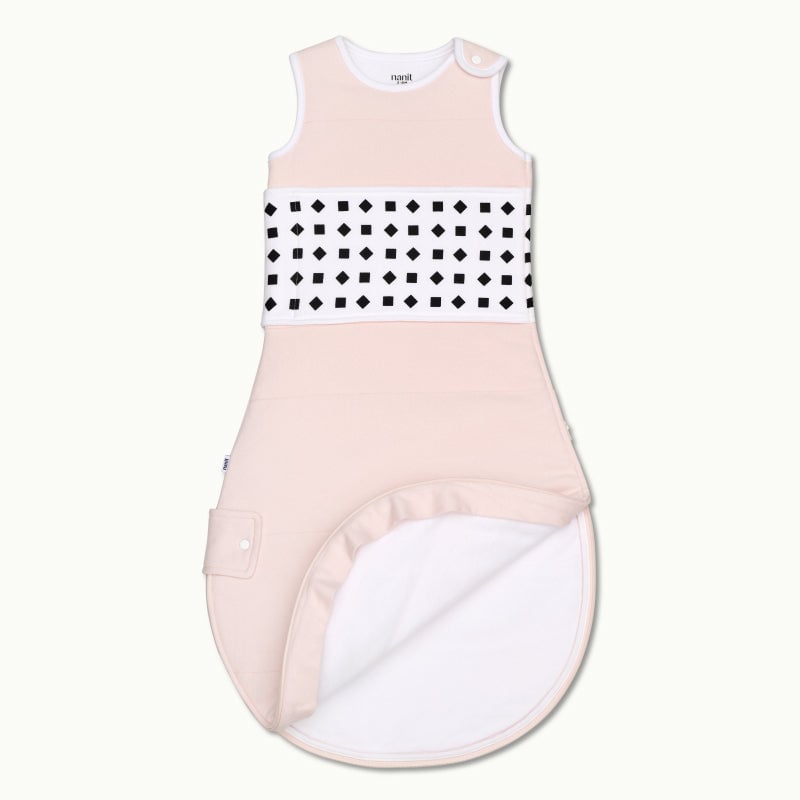
Use the monitor as one part of a consistent bedtime setup. Keep the room comfortably dark, use the same short sequence each night and make sure any wearable is appropriate for your baby’s stage. Nanit’s Breathing Wear collection is designed to work with its breathing motion monitoring without a sensor placed on the baby.
- Keep the bedtime sequence short enough to repeat every night.
- Use the same sound and light levels while your baby settles.
- Choose Breathing Wear according to the product guidance and fit.
- Review the camera view after changing furniture or bedding.
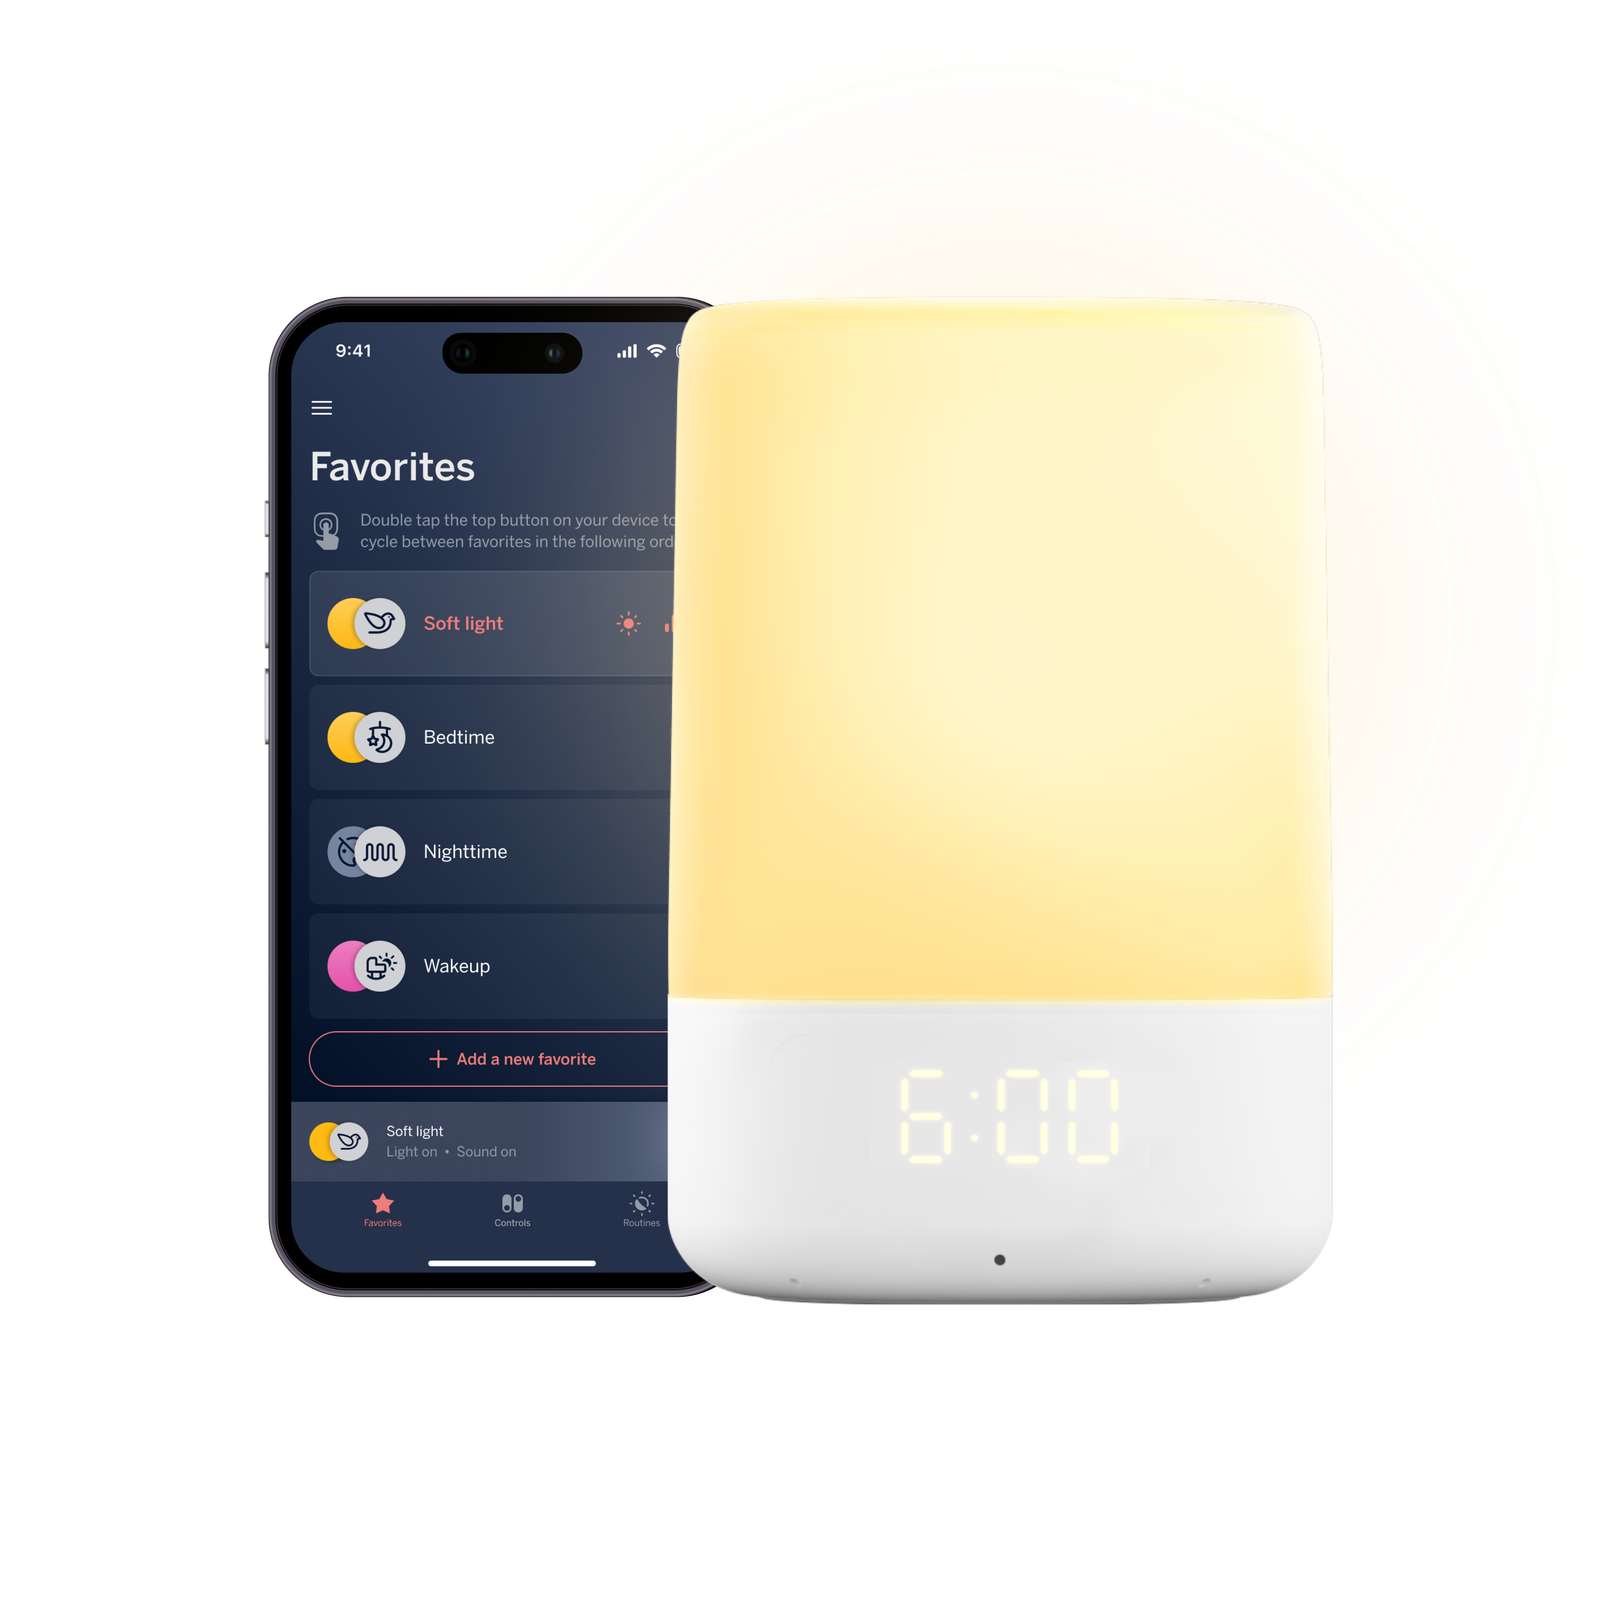
For a post-swaddle stage, the Nanit Breathing Wear Quilted Sleeping Bag is described as a 2.5 TOG option with sensor-free monitoring. The Nanit Sound + Light Machine adds soothing sounds, gentle lighting and live audio monitoring. These are useful additions when they support a routine you can repeat.
Portable Nanit setup
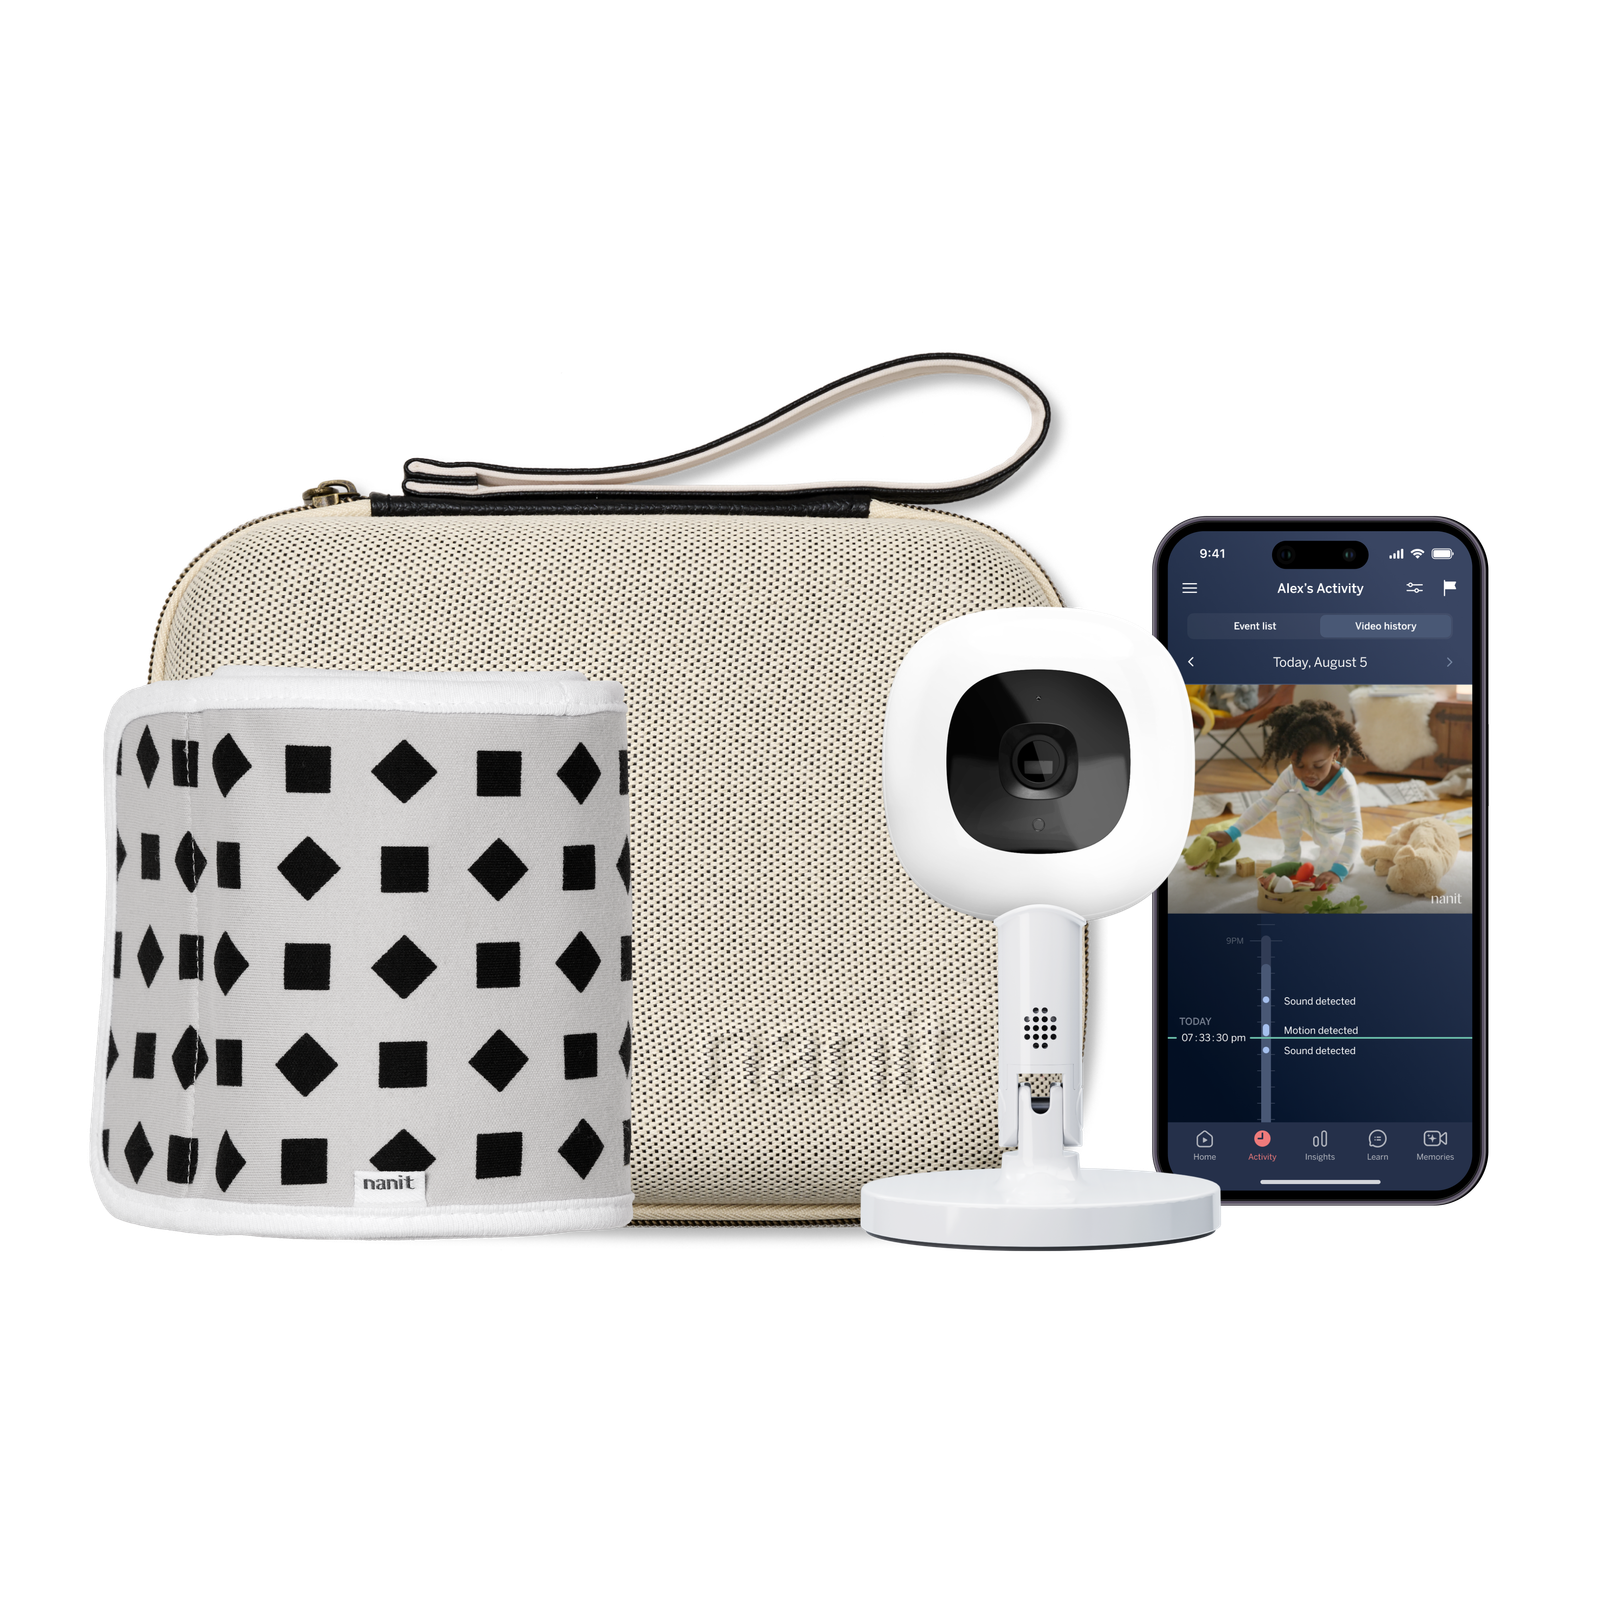
If you visit family, travel or move between rooms, make a small checklist before packing. The Flex Stand gives the camera a portable base, and Nanit’s travel accessories help protect the equipment. Test the setup at home first so you know where the camera, stand and power cable will go when you arrive.
- Pack the monitor, stand, power adapter and any chosen wearable.
- Carry the equipment in a protective case rather than loose in a bag.
- Confirm the destination has reliable Wi-Fi and a safe placement point.
- Recheck the camera angle every time the sleep space changes.
For a ready-made option, the Nanit Travel Bundle includes a protective travel case. It is a practical pick when portability is part of the brief from day one, while the Flex Stand remains a useful add-on for play spaces at home.
The Nanit system
- One connected system covers video, notifications and sleep insights.
- Flexible stands and mounts suit different nursery layouts.
- Breathing Wear adds a sensor-free monitoring option.
- Dedicated display and app access support shared caregiving.
Keep in mind
- Prices and plan terms can change, so check the current product page.
- Wi-Fi and careful cable placement still matter to the experience.
- Monitoring tools complement, rather than replace, safe sleep guidance.
- Choose the mount and wearable for your actual stage and space.
The most useful Nanit setup is the one that fits your room, your routines and the way your family checks in. Start with the monitoring job, position it carefully, then add the display, sleep or travel pieces that solve a real problem. That keeps the nursery focused and makes the technology easier to use every day.